
The HOTBIN hatch appears on the HOTBIN 200l and HOTBIN Mini models. Removing the hatch is straightforward using a simple technique which we also detail in an accompanying video.
Step by Step Hatch Removal
Remove the Cam Straps (see guide to remove here)
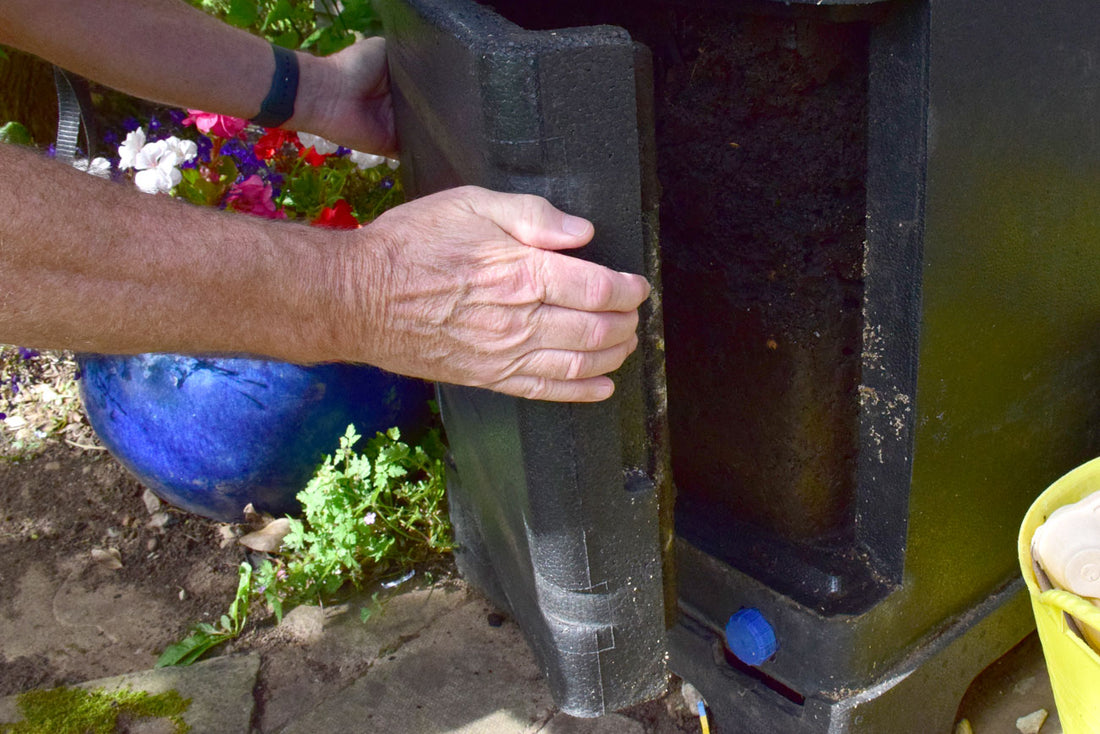
Open one side at a time. Place your thumb into the hatch grip against the wall, then place fingers opposing into door. Now push the thumb and fingers apart – the hatch will pop off.
Do not attempt to lever the hatch into place using a spade or trowel or any other object as the hatch or walls of the unit will get damaged.
NB: We advise not removing the hatch until the HOTBIN is at least half-full - there are two reasons:
- The weight in the HOTBIN increases stability making hatch removal and re-attachment much easier
- If the HOTBIN only has new waste in, it will pour out of the hatch and there will be considerable waste to clear up. When the first compost is ready (60-90 days), you will find the compost sticks and holds largely in place when the hatch is removed.
- If removed when HOTBIN is empty the hatch could be accidentally damaged.
Step by Step Hatch Replacement
Clean all compost from around the edges of the hatch and walls of the HOTBIN to ensure the hatch is replaced flush.
Align the hatch so that the HOTBIN logo is the correct way up.
To reattach the hatch, you must align it square on. Gently ease it back into place and push the bottom in first followed by the top. You will probably find it's still not quite flush so give each corner a firm press with palm of your hand.
Now attach the Cam Straps to secure the hatch and ensure it always stays tightly closed.
NB: If the hatch does not fit and align - repeat the steps above and double check there is no waste in the joint around the edge!!