
As reviewed By Margaret Rose Johnston:
Introduction
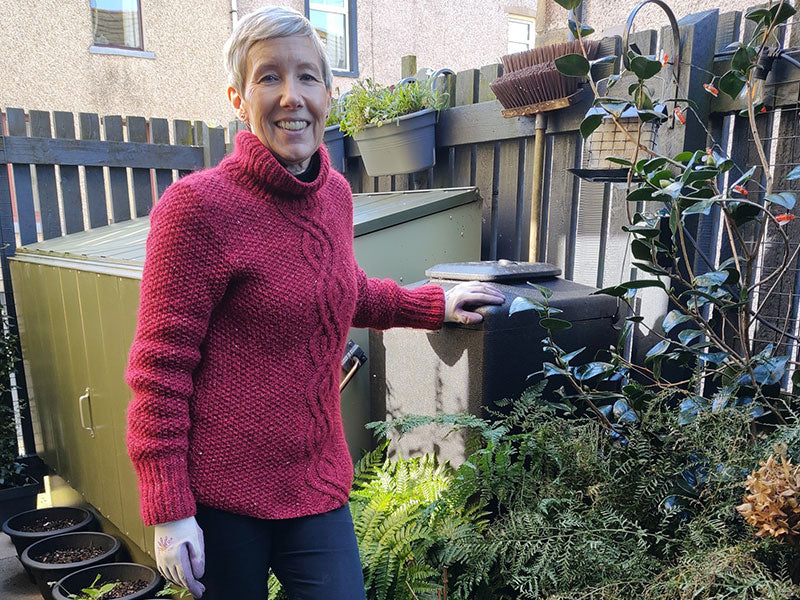
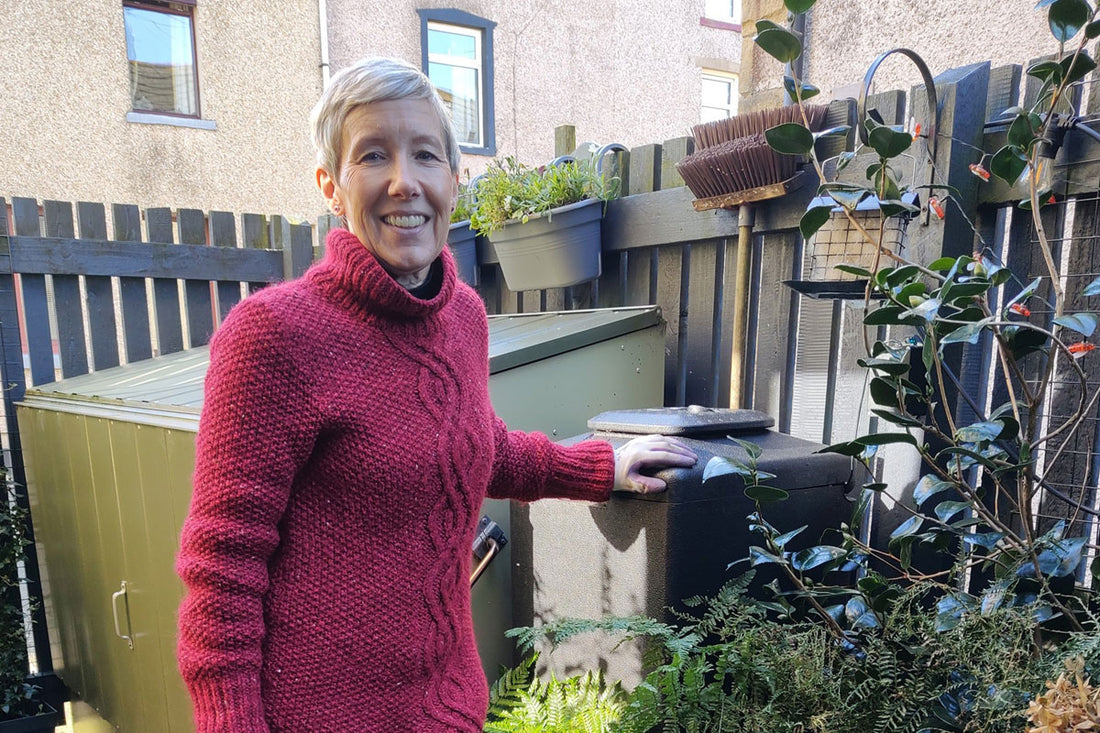
Living in Cumbria with my hubby Stuart, an engineer, I've always loved gardening. But our space is limited – a tiny 5.5 x 2.3m yard, completely paved, with all our plants in pots and containers. This made conventional composting challenging until we found the HOTBIN Mini Composter.
I was new to composting, especially hot composting, and when we got the HOTBIN this spring, it was a revelation. What impressed me the most was how little space it took, how tidy it looked, and, importantly, it didn’t smell. Turning our household and garden waste into perfect compost in just weeks was something I had never experienced before. It been turning all my household and garden waste in weeks and producing pretty perfect compost since March. I can't recommend it more highly.

Monitoring the compost's temperature was very interesting for me and I took great enjoyment in seeing how the waste added directly affected the heap temperature, helping me to understand the composting process better.
But we wanted to go a step further, so, Stuart built a special temperature probe using a Raspberry Pi Pico microcontroller. This device, which we placed directly on the slabs against a north-facing fence in semi-shade, sends temperature readings to our home computer every 30 minutes. It's fascinating to see live data that helps me learn which materials compost best.
What is the best way to make compost in a small garden?
- Bulking Agent and Shredded Paper: Initially, I used the bulking agent that came with the HOTBIN Mini, but I soon started making my own. I found that a mixture of 2:1 waste to paper, especially shredded paper and card, works best, adjusting the amount of paper if the waste is more watery.
- Kitchen Waste: We don’t produce much kitchen waste as most of it goes to our wormery composter. What goes into the HOTBIN Mini includes things unsuitable for the worms, like onion skins, orange peel, and cat food, along with coffee grounds. Cutting everything into small, 20mm pieces helps speed up the process.
- Garden Waste: This forms the bulk of what goes into the composter. It’s mostly deadheading’s and prunings, at least two bowls full per week, sometimes more. I store any excess in an old compost bag and add it as needed, cutting everything into 50mm pieces.
My Top 7 Tips – Small Garden Composting Lessons Learnt
-
Initial set up: It took me a couple of weeks to get the HOTBIN up to temperature starting in March this year when the air temperature was very cold. I deployed the kick start bottle a few times and it didn’t seem to do very much. Adding a large bag of fresh grass clippings and mixing it well into the rest of the waste made all the difference, quickly raising and then maintaining a high temperature.
-
Composting Grass: I found that adding fresh grass mowings is the most reliable way to raise and maintain the temperature and try to add half a bin bag full every few weeks. It is important to mix the grass well into the rest of the added waste so that it doesn’t form mats. I don’t have a lawn, so I collect cut grass from the local council.
-
Waste digestion: Waste I found easy and fast to compost included: fleshy plants such as red valerian and cineraria, lilies (Arum, Asiatic and Oriental, bulbs, stems and flowers), and partly rotten windfall apples. Tough strappy cordyline leaves take much longer.
-
Feeding the HOTBIN: So far, I found that adding 1 – 2 washing up bowls of waste every 3 days works well. First, I add shredded paper mixing it in with the partly composted material at the top, then I add the kitchen and garden waste. I mix up all the new stuff and pull up and mix in some of the deeper material that is hot and in the process of composting in the hope this will ‘seed’ bacteria into the newly added waste thus accelerating the composting process. I time adding new waste when the temperature is well above 40°, usually when the temperature has peaked and is just starting to fall. It can take 12 – 24 hours to get back to the temperature it was when I opened the HotBin to add material.
-
Temperature: The temperature seems to be reasonably self-regulated. Mostly it remains between 40° - 60° although it has risen to almost 70° a few times at the height of the Summer. Typically the temperature rises rapidly some hours after new material is added, then it plateaus and starts to drop off. The pattern is pretty regular on the temperature graph, see attached.
-
Compost: The first batch of compost was surprisingly successful. It was warm, moist (not wet), no smell (just earthy smelling) and the material was well composted and crumbly, unrecognisable from the material put in and was full of worms. There were some dry twigs and stems which I put back in. See pictures (it actually looked better that the pictures show).
- Removing the compost: I find this quite tricky to do without the whole contents emptying out. The last time I just let it all empty out. I used the well composted material as mulch on the garden and put the rest back in the HotBin to continue composting. I mixed the old material thoroughly with new material and more shredded paper and grass and this seemed to work really well.
I plan to continue using the HOTBIN Mini and the temperature probe to improve my understanding of the composting process further. It’s been a very interesting journey, and I can’t recommend the HOTBIN Mini highly enough for anyone with limited gardening space. Stuart is continuing to tinker with the device and is working on designing a lower power variant for the device that will help to optimise battery life.